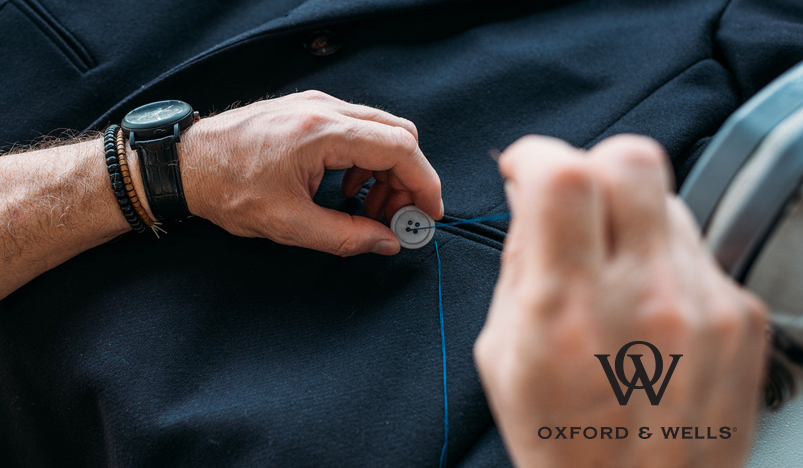
How to Sew a Button in 5 Steps
The need for mending a button typically strikes at inopportune times, for example as you are walking out the door to a meeting and a button catches and pops. No time to take the shirt to a tailor, and in truth you needn’t pay a tailor to make this most basic repair. Instead, think of sewing a button as a way of making yourself more self-sufficient. You will need a few tools and then simply follow these 5 steps for how to sew a button.
Tools:
- Needle: 2 if available, the slimmer the better
- Button: The original if possible, otherwise a matching button
- Thread: Try to use a thread that matches the garment color. You will need about 12″ to 24″ of
thread . - Small Pointed Scissors: You might also use a knife or something else that is sharp to cut the excess thread.
1. Thread the needle
Preferably, if you have 24 inches of thread available, you should thread your needle and then tie the two ends together in a knot. This method of threading the needle is often called a doubled-over thread.
If you have less than 24 inches, then you will need to do a single thread. Here you should slip the thread through the eye of the needle and give it an inch or two of slack. Tie off the back end of a single thread by wrapping the thread around your forefinger several times, roll the loops into a tight bundle with your thumb, and then slip the whole bundle off your finger. Grip the bundled loops with one hand and tug the long end of the thread tight with the other, pulling the loose bundle into a tight knot.
2. Stitch an anchor “X” point
Starting from inside the garment, do a couple of little stitches on the spot where the button will go to secure the thread, ensuring that it doesn’t come loose during stress. Run the needle from the back end of the fabric to the front where the button is going to be needed. Going back and forth you will create a small “X” where the button will be centered. This “X” reinforces the thread to ensure it doesn’t come loose during stress.
3. position the button
Thread the button on to the needle and position it on the anchor “X” to begin sewing through the buttonholes. You may want to add a spacer, particularly for buttons being sewn onto thicker fabric. Either a second needle or a toothpick, pin, or small stick can be used as a spacer. As you begin stitching, pull the thread all the way through until the knot is snug against the underside of the fabric, while you are using a fingertip to keep the button in its place.
If you are mending a two-hole button, then you will keep coming up through one hole and down through the next. If you are sewing a four-hole button, then you can do one of two things. You can either create two parallel stitches or two diagonal stitches creating a cross stitch. Stitch through each hole about four or five times for a shirt button and about six to eight times for a coat button.
4. create the Shank
When sewing a button, you need to make sure there is room for the fabric of the shirt or coat to fit underneath when you are done, which is particularly important for thicker fabrics, otherwise it will pucker. If you used a spacer, then on your last stitch of the button, come back up through the fabric, but do not go through the button, instead turn the needle aside and bringing it out from underneath the button.
Remove the spacer you used and with your threaded needle, wrap your thread around the threads beneath the button a total of 6 times. While you wrap around the thread, lift the button away from the coat to create a shank. Pull the thread tight and push the needle back into the base to be tied off on the back side of the fabric.
5. Tie it Off
The simplest knot to tie off is an overhand loop tied with the needle still attached. To do this, you will pin the thread down right against the back of the fabric, under the button. Make a little circle in the thread just beyond your fingertip and pass the needle through the circle. Tighten it down and snip off the excess thread.
Whether you need to fix a shirt button, suit button, trouser or skirt button, you can follow these same 5 steps for how to sew a button. At Oxford & Wells, we believe the proper way to care for clothes isn’t stuffy or rigid, but it’s a mindset. A little bit of knowledge can go a long way in keeping your clothes looking their best for years to come. Our premium non-aerosol spray starch never flakes or streaks, it was developed to deliver the perfectly pressed outfit. See for yourself how we help you look
